This tutorial is for installing IRAF Community Distribution and PyRAF on a M1/M2 (Apple Silicon) Mac. The following steps are tested on Mac OS Sonoma 14.2.1 with M1 chip.
1. Preparations
1.1 Install Command Line Tools for Xcode
If you have not installed Xcode, please install it from the App Store. After installation, open a terminal and type:
xcode-select --install
to install Command Line Tools for Xcode.
1.2 Install Homebrew for Mac OS (recommended)
Homebrew is a package manager for Mac OS, which can be installed with:
/bin/bash -c "$(curl -fsSL https://raw.githubusercontent.com/Homebrew/install/HEAD/install.sh)"
For example, to install gcc compiler (recommended) using Homebrew, type:
brew install gcc
1.3 Install XQuartz
XQuartz is a software package allowing X Window System applications to be run on macOS. To install XQuartz, you can either download the latest version from here, or install it using Homebrew:
brew install --cask xquartz
1.4 Install a conda distribution or a virtual environment (optional)
If you have not installed a conda distribution, you can install the latest Anaconda or Miniconda for Mac OS. Both Anaconda and Miniconda now support M1/M2 Mac.

If you have installed a conda distribution, you can either create a new virtual environment for IRAF/PyRAF, or use the default base environment. Here we directly use the default base environment.
2. Install IRAF Community Distribution
2.1 Download and build IRAF from source
The latest IRAF Community Distribution can be downloaded from here. The downloaded file is a .tar.gz file (e.g. iraf-2.17.1.tar.gz), which can be extracted using the following command:
tar -xzf iraf-2.17.1.tar.gz
After extraction, you will see a folder named iraf-2.17.1. Move this folder to the directory where you want to install IRAF. For example, you can first make a new directory opt in your home directory, and then move the folder to this directory using:
mkdir ~/opt
mv iraf-2.17.1 ~/opt
Go to the iraf-2.17.1 folder, and compile IRAF using make:
cd ~/opt/iraf-2.17.1
make 2>&1 | tee build.log
When the compilation is finished, you will see a message like:
Sat Jan 20 16:45:13 CST 2024
============== IRAF build was successful! ===============

Start: Sat Jan 20 16:38:20 CST 2024
End:   Sat Jan 20 16:45:13 CST 2024

You may now run "make test" for a quick test of the build
Then, you can run make test to test the build. The output should be like:
./test/run_tests
ecl.e: README.md
ecl.e: files.md ......
ecl.e: images.imcoords.md ...........
ecl.e: images.imfilter.md ..............
ecl.e: images.imfit.md ...
ecl.e: images.imgeom.md ........
ecl.e: images.immatch.md ..
ecl.e: lists.md .......
ecl.e: noao.astutil.md ........
ecl.e: noao.digiphot.photcal.md .
ecl.e: numerical-recipes.md ..........
ecl.e: os.md ..
ecl.e: programming.md ............
ecl.e: sys.vops.md .
ecl.e: test-syntax.md ...xsa
ecl.e: testproc.md ..........................
ecl.e: utilities.nttools.md ..............
Test summary:  128 passed
   2 skipped
   1 xfailed
Note that xfailed is an expected failure, which one does not need to worry about.
2.2 In-place installation
Although IRAF can be installed anywhere (including the system directory /usr/local, see https://iraf-community.github.io/install.html#system-wide-installation), it is recommended to install it in-place in the user’s home directory. The in-place installation just configures the built system in its current location.
make inplace
This also installs the links required to run iraf or its commands to /Users/yourname/.iraf/bin.
2.3 Set environment variables
Then, you need to set the environment variable iraf to the path of the iraf-2.17.1 folder, and add the /Users/yourname/.iraf/bin directory to your PATH environment variable. This can be done by adding the following lines to your ~/.zshrc file:
export iraf="/Users/yourname/opt/iraf-2.17.1/"
export PATH="$PATH:/Users/yourname/.iraf/bin"
2.4 Test IRAF
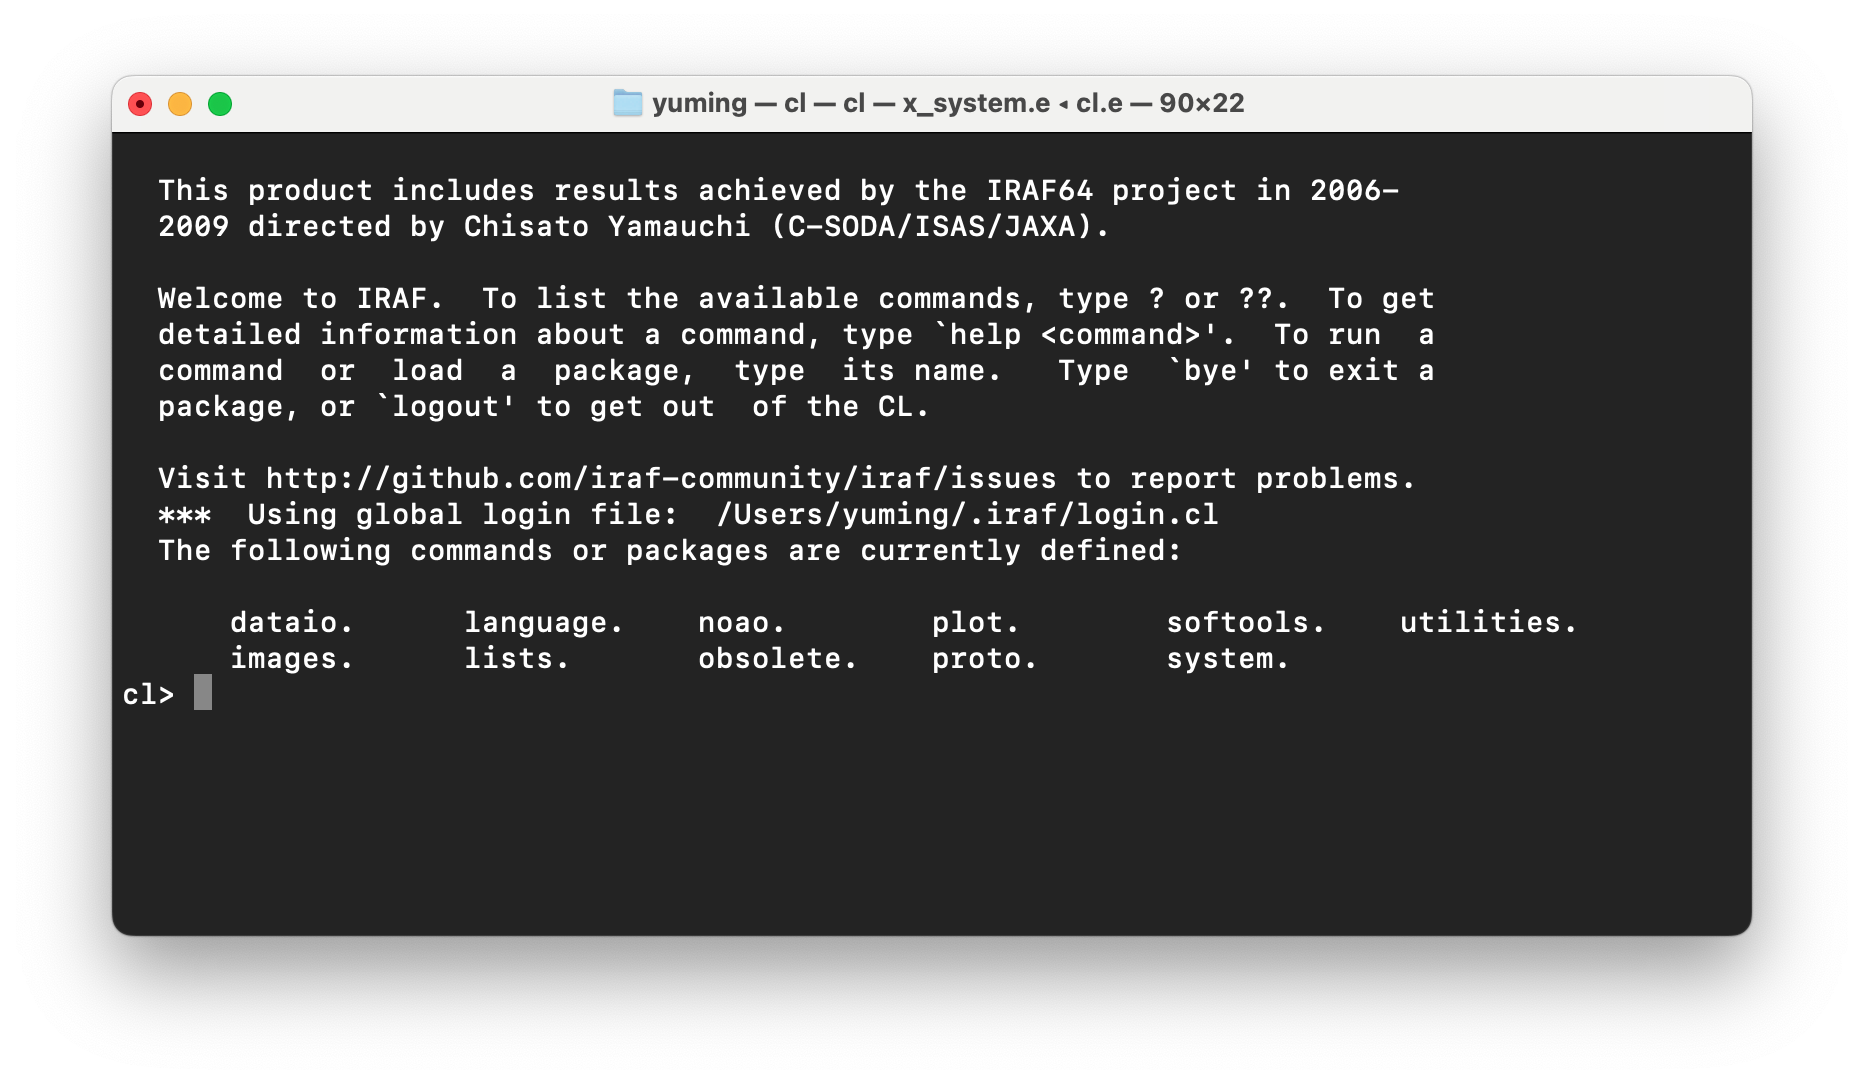
Open a new terminal, and type cl to start IRAF. If you see the following message, then IRAF is successfully installed.
  This product includes results achieved by the IRAF64 project in 2006-
  2009 directed by Chisato Yamauchi (C-SODA/ISAS/JAXA).

  Welcome to IRAF.  To list the available commands, type ? or ??.  To get
  detailed information about a command, type 'help <command>'.  To run  a
  command  or  load  a  package,  type  its name.   Type  'bye' to exit a
  package, or 'logout' to get out  of the CL.

  Visit http://github.com/iraf-community/iraf/issues to report problems.
  ***  Using global login file:  /Users/yuming/.iraf/login.cl
  The following commands or packages are currently defined:

      dataio.     language.   noao.       plot.       softools.   utilities.
      images.     lists.      obsolete.   proto.      system.
cl>
3. Install X11IRAF
The X11IRAF sources are available from github at https://github.com/iraf-community/x11iraf/releases/latest/.
Download the latest version (e.g. x11iraf-2.1.tar.gz), and extract it using:
tar xzf /<path>/x11iraf-2.1.tar.gz
Go to the x11iraf-2.1 folder:
cd x11iraf-2.1
Then edit the Makefile to set the prefix variable to the path of the /Users/yourname/.iraf folder. The edited Makefile should look like:
all: xgterm ximtool

prefix = /Users/yourname/.iraf
export TCL_INCLUDE_DIR = /usr/include/tcl
Compile and install X11IRAF using:
make
make install
To test X11IRAF, type xgterm in the terminal. If you see a new terminal window, then X11IRAF is successfully installed. Currently, the ximtool command does not work on M1/M2 Mac.
4. Install PyRAF
4.1 Install PyRAF from github
The lastest PyRAF (development version on github) can be installed using pip:
python -m pip install git+https://github.com/iraf-community/pyraf.git
To test PyRAF, type pyraf in the terminal. If you see the following message, then PyRAF is successfully installed.
  This product includes results achieved by the IRAF64 project in 2006-
  2009 directed by Chisato Yamauchi (C-SODA/ISAS/JAXA).

  Welcome to IRAF.  To list the available commands, type ? or ??.  To get
  detailed information about a command, type 'help <command>'.  To run  a
  command  or  load  a  package,  type  its name.   Type  'bye' to exit a
  package, or 'logout' to get out  of the CL.

  Visit http://github.com/iraf-community/iraf/issues to report problems.
  ***  Using global login file:  /Users/yuming/.iraf/login.cl
  The following commands or packages are currently defined:

clpackage/:
 clpackage/     language/       obsolete/       softools/       utilities/
 dataio/        lists/          plot/           system/
 images/        noao/           proto/          user/
PyRAF 2.2.2.dev10+g2ed0f26
Python/CL command line wrapper
  .help describes executive commands
-->
4.2 Enable the matplotlib graphics kernel for smoother and more stable graphics
According to the PyRAF FAQ, one can enable the matplotlib graphics kernel for smoother graphics by adding the following line to the ‘~/.zshrc’ file:
export PYRAFGRAPHICS="matplotlib"